Live example - Demo
Code for this project - Code
Introduction
VuePress is a static site generator powered by Vue. VuePress uses markdown to generate pages so you can focus on just the writing. Also it allows you to use Vue components in markdown and use custom themes. By default VuePress ships with a responsive theme, which is what we’ll be using for this project.
All these features make VuePress ideal for building documentation websites. This tutorial will show you how to get a documentation website up and running in 15 minutes.
Installation
For this project you’ll need Node and npm. Then we’ll install VuePress globally so that we can use the cli and also locally for when we deploy.
$ npm install -g vuepress
$ npm install -D vuepress
Setup
Create a new project folder and change your current working directory to this folder.
$ mkdir doc-tut && cd doc-tut
Then initialize this project with a package.json
$ npm init -y
Create a folder called docs
$ mkdir docs
In this docs folder create a new folder called .vuepress and add a file inside this called config.js. Then create a readme.md file in the docs folder.
Each sub folder we add to the docs folder becomes a sub route. We’re going to add 2 new folders called guide and get-started and add a readme.md file to both of these folders. This means that we now have two sub routes that point to /guide/ and /get-started/.
Each markdown file in a folder becomes a HTML file with the route being the parent folder and the readme.md file becomes the index.html file for that subroute
Your current File structure should look like this
doc-tut
   |----docs
   |    |--readme.md // index.html for the root directory
   |    |----.vuepress
   |    |    |
   |    |    |--config.js // configuration file for the default theme
   |    |
   |    |----getting-started
   |    |    |
   |    |    |--readme.md
   |    |
   |    |----guide
   |        |
   |        |--readme.md
   |
   |--package.json
Inside the config.js file place the following code.
module.exports = {
    title: 'New Docs', // Title of the website
    // appears in the meta tag and as a subtitle
    description: "A small documentation site",
    // Google Analytics tracking code
    ga: "Analytics code",
    themeConfig: {
        nav: [
            // links that will appear in the top navbar
            { text: 'Guide', link: '/guide/' },
            { text: 'Get Started', link: '/get-started/' },
            // external link
            { text: 'Github', link: 'https://github.com/Aveek-Saha' },
        ],
        sidebar: [
            // These links will appear in the sidebar
            // Create heading groups
            {
                title: 'Getting Started',
                collapsable: false,
                children: [
                    // These are pages we'll add later
                    '/get-started/installation',
                    '/get-started/using'
                ]
            },
            {
                title: 'Guide',
                collapsable: false,
                children: [
                    // These are pages we'll add later
                    '/guide/api-reference',
                    '/guide/deploying',
                ]
            }
        ]
    }
}
Home page
Now we’re going to create the front page for our website. You can read more about the Default Theme Config here.
In docs/readme.md place the following code
---
home: true
actionText: 📝 Guide
actionLink: /guide/api-reference
features:
- title: Simplicity First
  details: Minimal setup with markdown-centered project structure helps you focus on writing.
- title: Vue-Powered
  details: Enjoy the dev experience of Vue + webpack, use Vue components in markdown, and develop custom themes with Vue.
- title: Performant
  details: VuePress generates pre-rendered static HTML for each page, and runs as an SPA once a page is loaded.
footer: Made with 💚 by Aveek Saha
---

# Installation
Lorem ipsum dolor sit amet, consectetur adipiscing elit.
In interdum in sapien sed dictum. Phasellus placerat sem a eros rutrum efficitur.
Proin vestibulum quam ut felis maximus lacinia.
Vestibulum non cursus massa. Pellentesque quis leo at tellus aliquet porta.
To see this live, open the project dir in your terminal run
$ vuepress dev docs
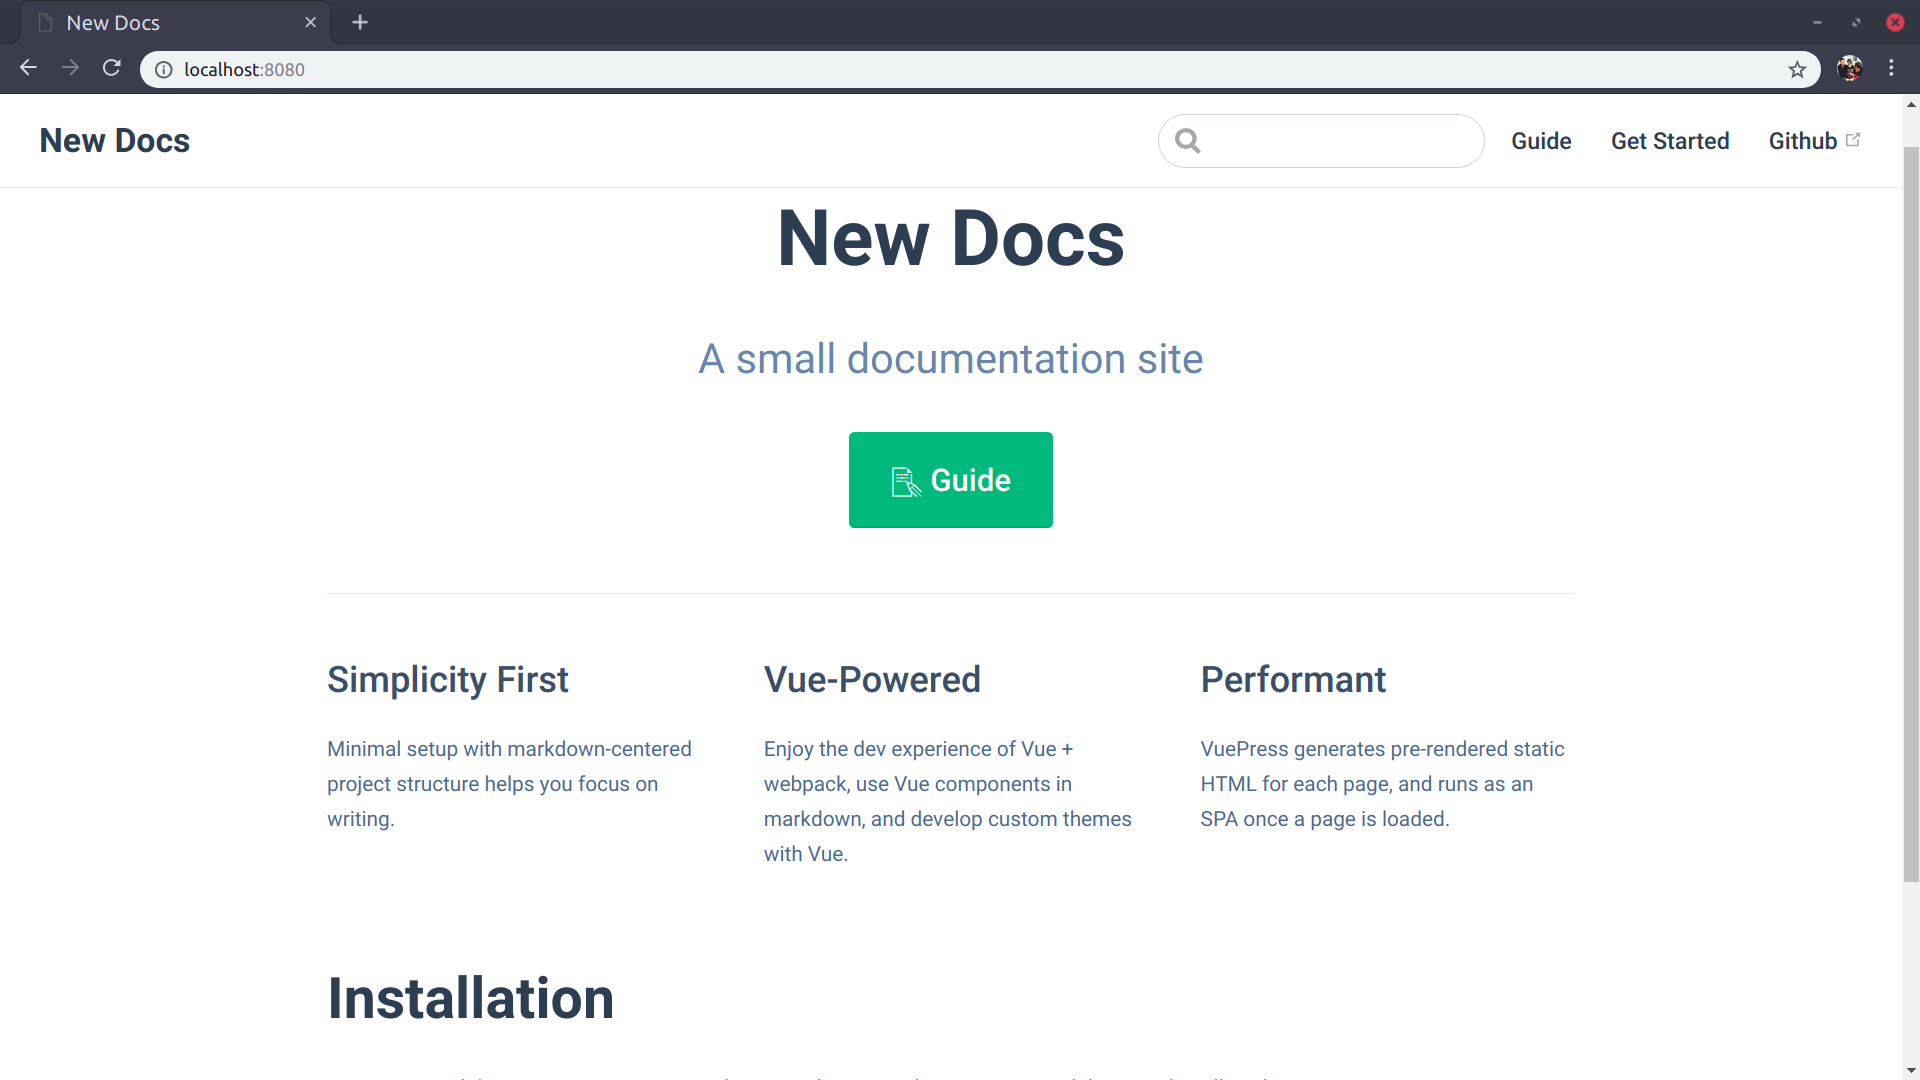
Once it finishes compiling go to http://localhost:8080/ to see the homepage we just created. It should look like this
Adding the other pages
Get Started
If you remember, we added two children to the sidebar group Getting Started in config.js (/get-started/installation and /get-started/using).
So we are going to add these files to the get-started sub-directory. Create two files,installation.md and using.md .
Copy this in both the files
---
title: Installation
---
<!-- change the title to Using in using.md -->
# Installation
There are two ways to include this in your project.
### NPM
```sh
npm i some-lib
```
### CDN
```sh
https://cdn.jsdelivr.net/npm/something/something.js
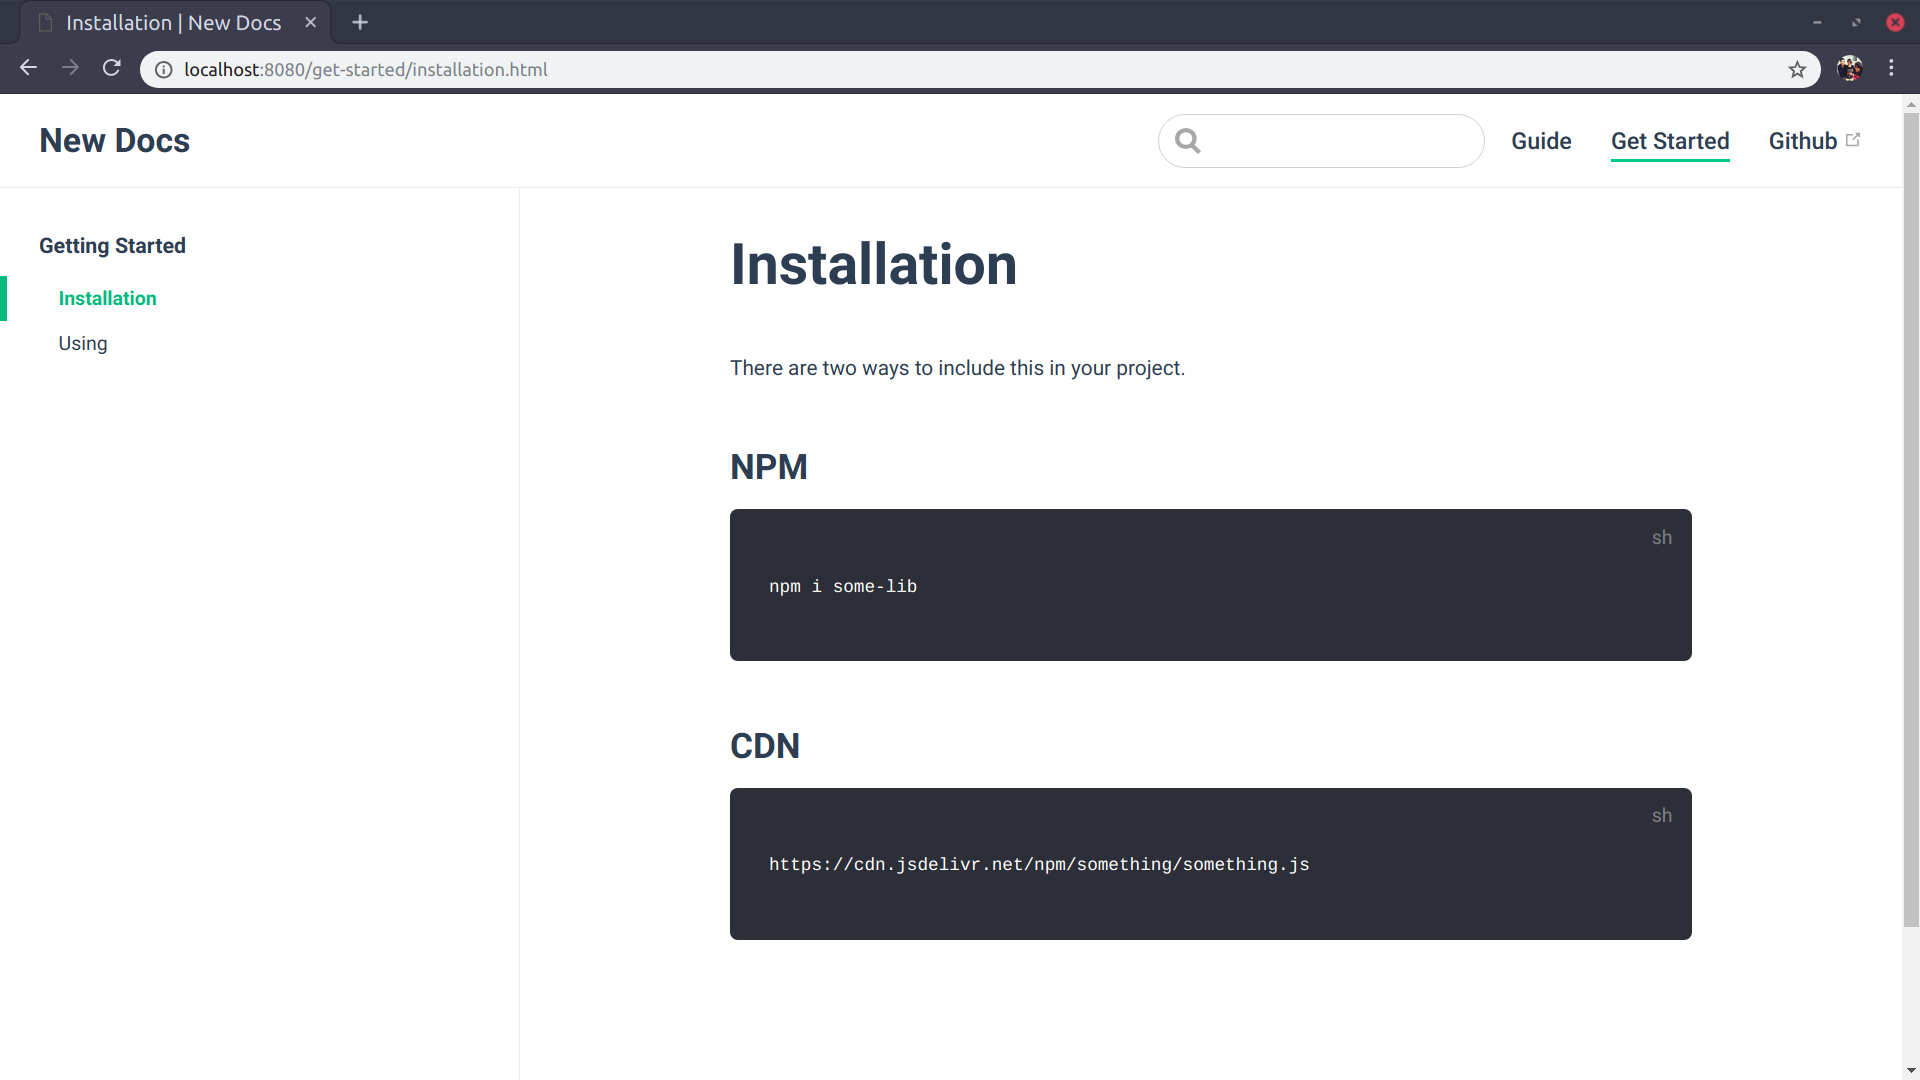
```Once you add the code, The site should look something like this
Guide
Another sidebar group we created called Guide also had two children, '/guide/api-reference' and '/guide/deploying'.
So we’ll add these files to the guide sub-directory,api-reference.md and deploying.md .
---
title: API reference
---
# API reference
Lorem ipsum dolor sit amet, consectetur adipiscing elit. In interdum in sapien sed dictum.
Phasellus placerat sem a eros rutrum efficitur.
Proin vestibulum quam ut felis maximus lacinia. Vestibulum non cursus massa.
Pellentesque quis leo at tellus aliquet porta. Quisque volutpat sollicitudin tincidunt.
In gravida ante nisl, at pretium nibh scelerisque eget. Phasellus eleifend pretium imperdiet.
Nunc egestas finibus dui a rhoncus. Integer viverra dapibus posuere.
Donec ut augue neque. Aliquam sed sem eu lacus posuere semper sit amet quis orci.
### Code
```py
for x in range(10):
print x+1
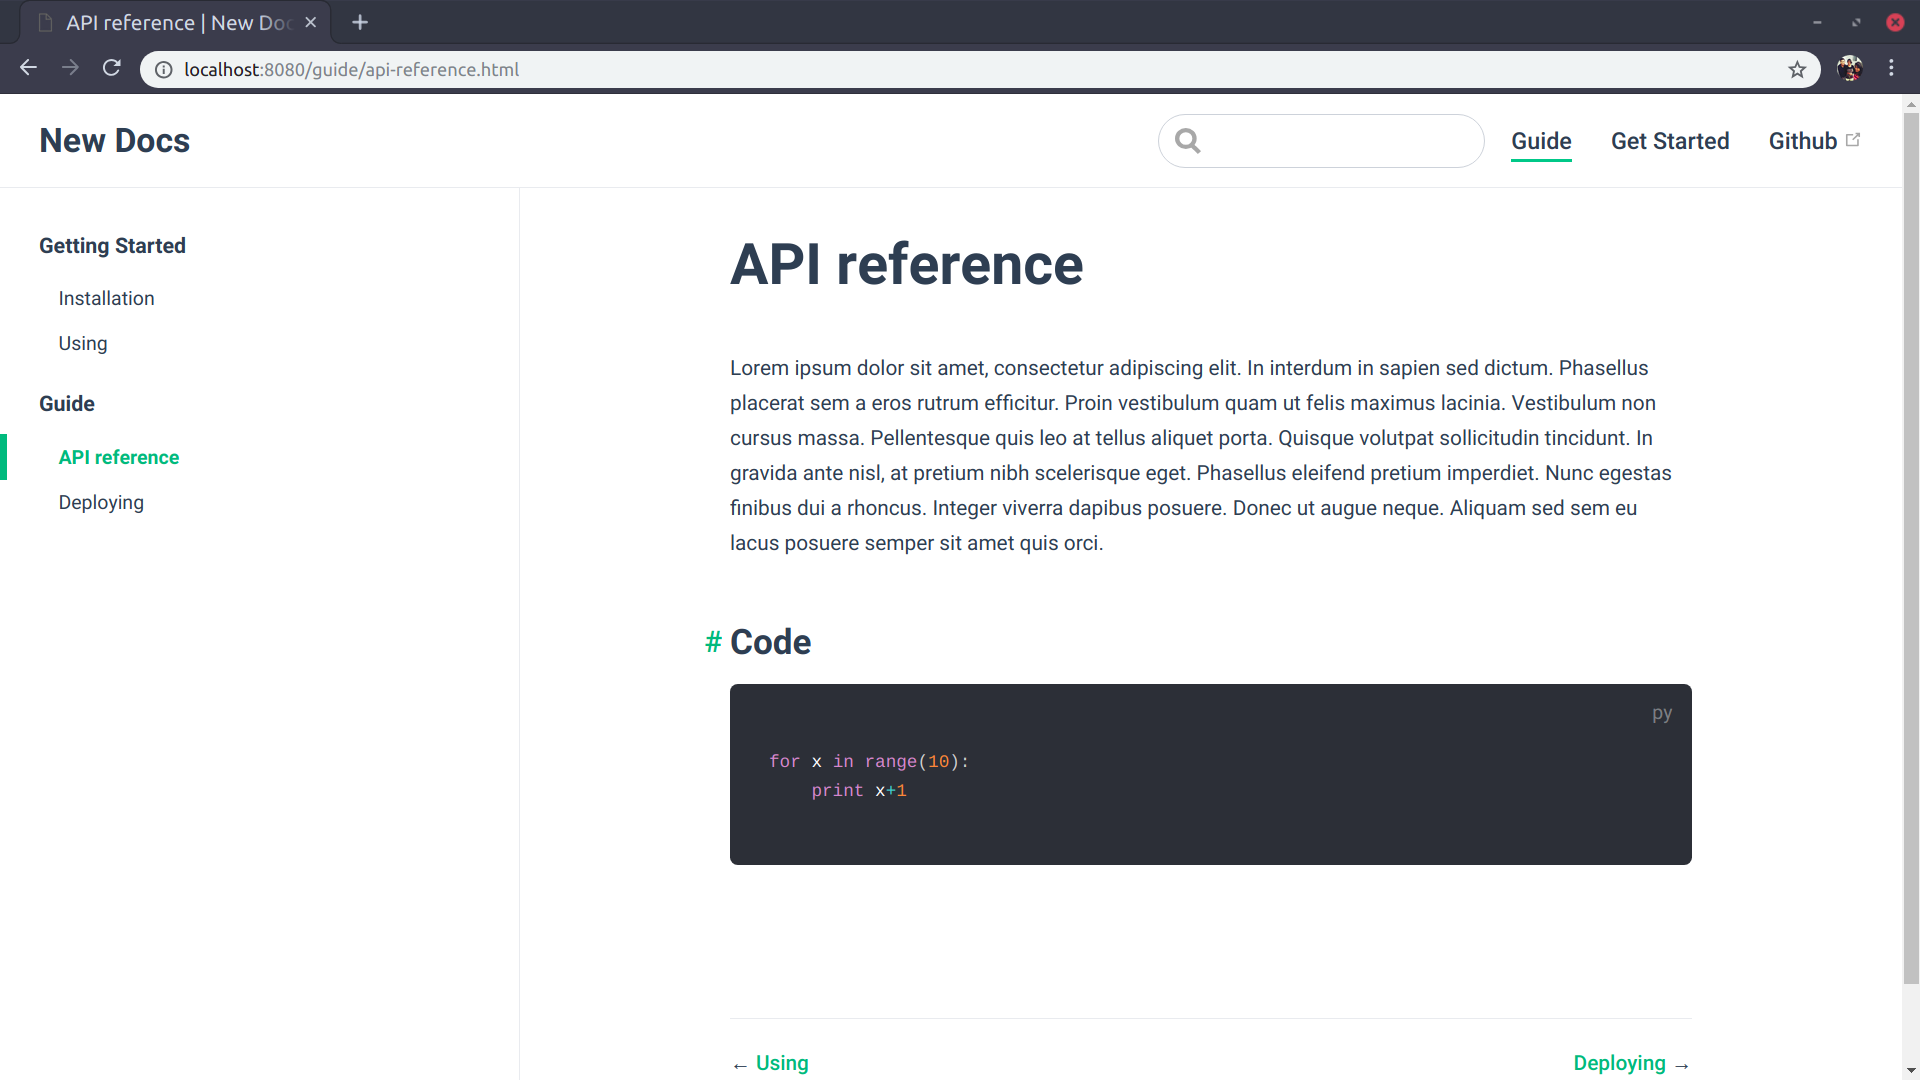
```Once you finish, The site should look something like this
Deploying to Netlify
First we’re going to add a .gitignore with a single line-
node_modules
Create a new project on GitHub or GitLab (Bitbucket is also available) then cd to your project folder and run the following
$ git init
$ git remote add origin <git URL of your project>
$ git add .
$ git commit -m "Initial commit"
$ git push origin master
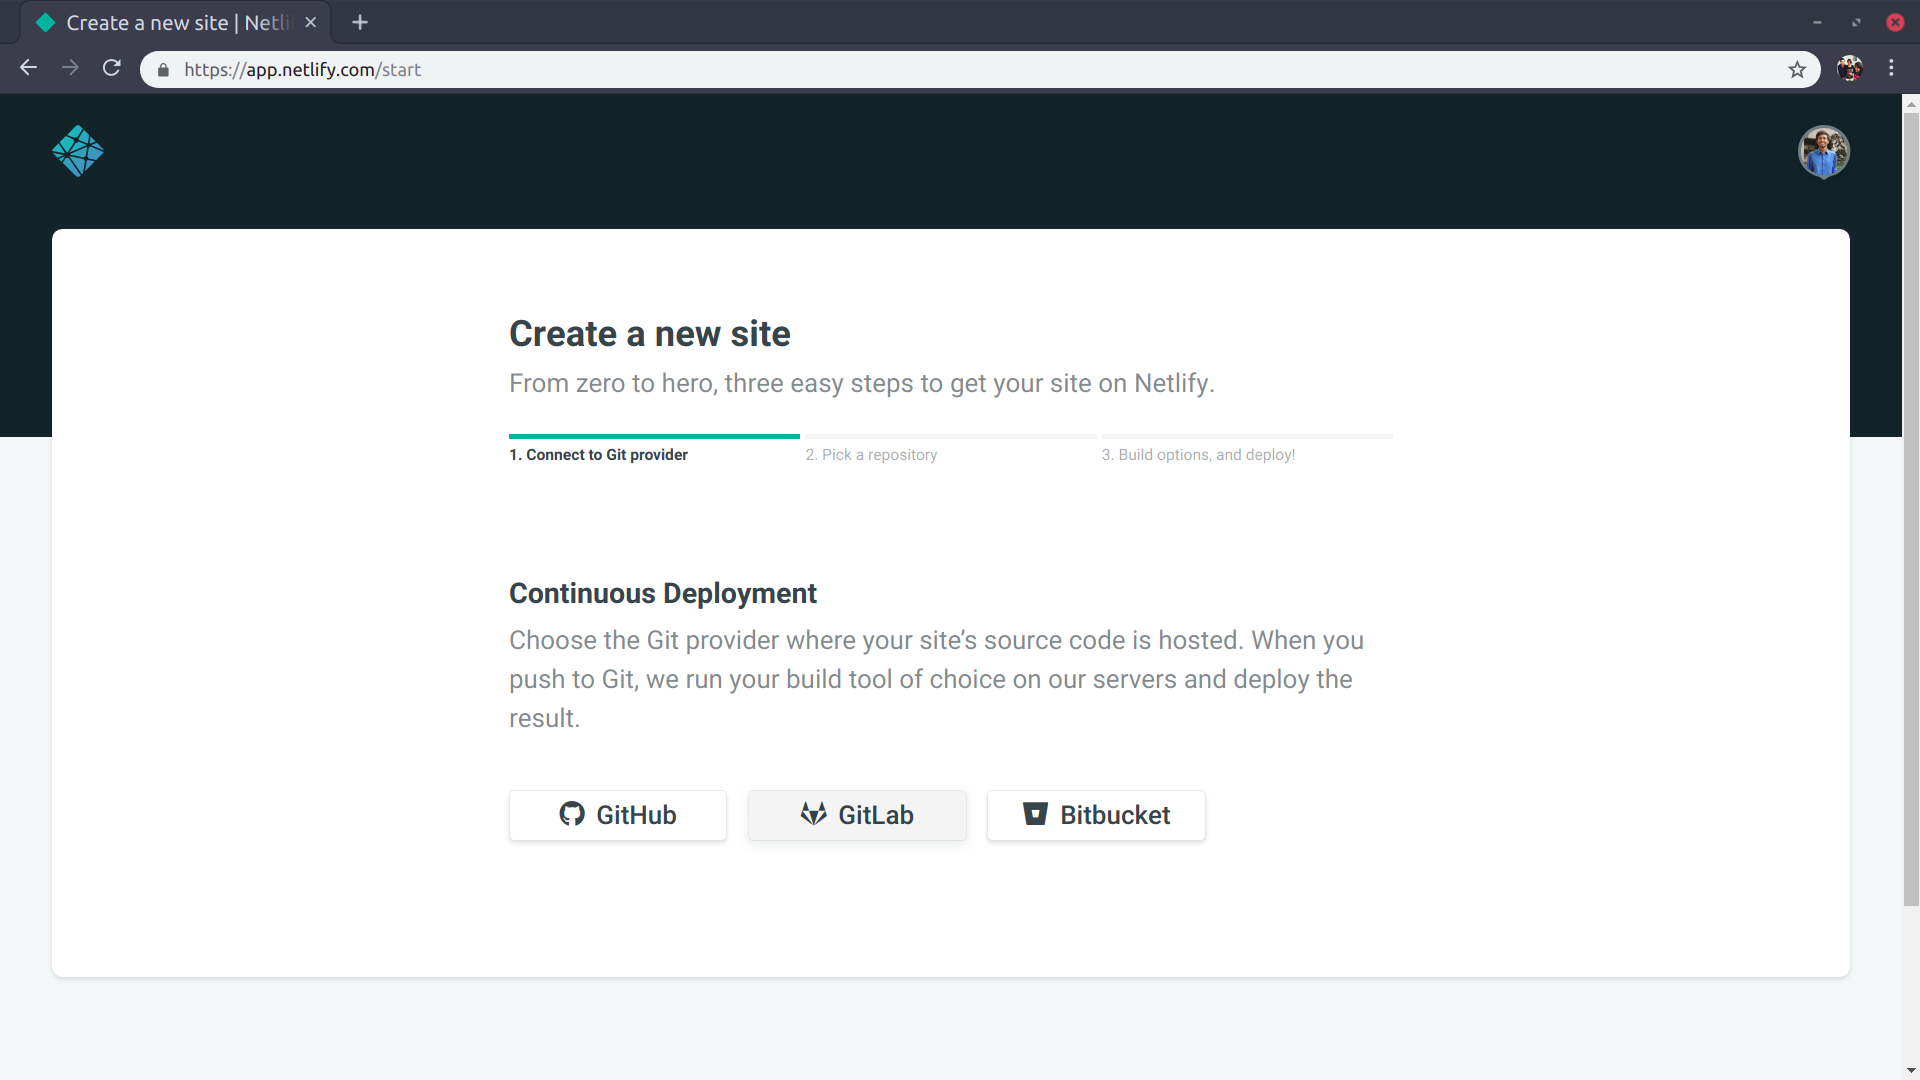
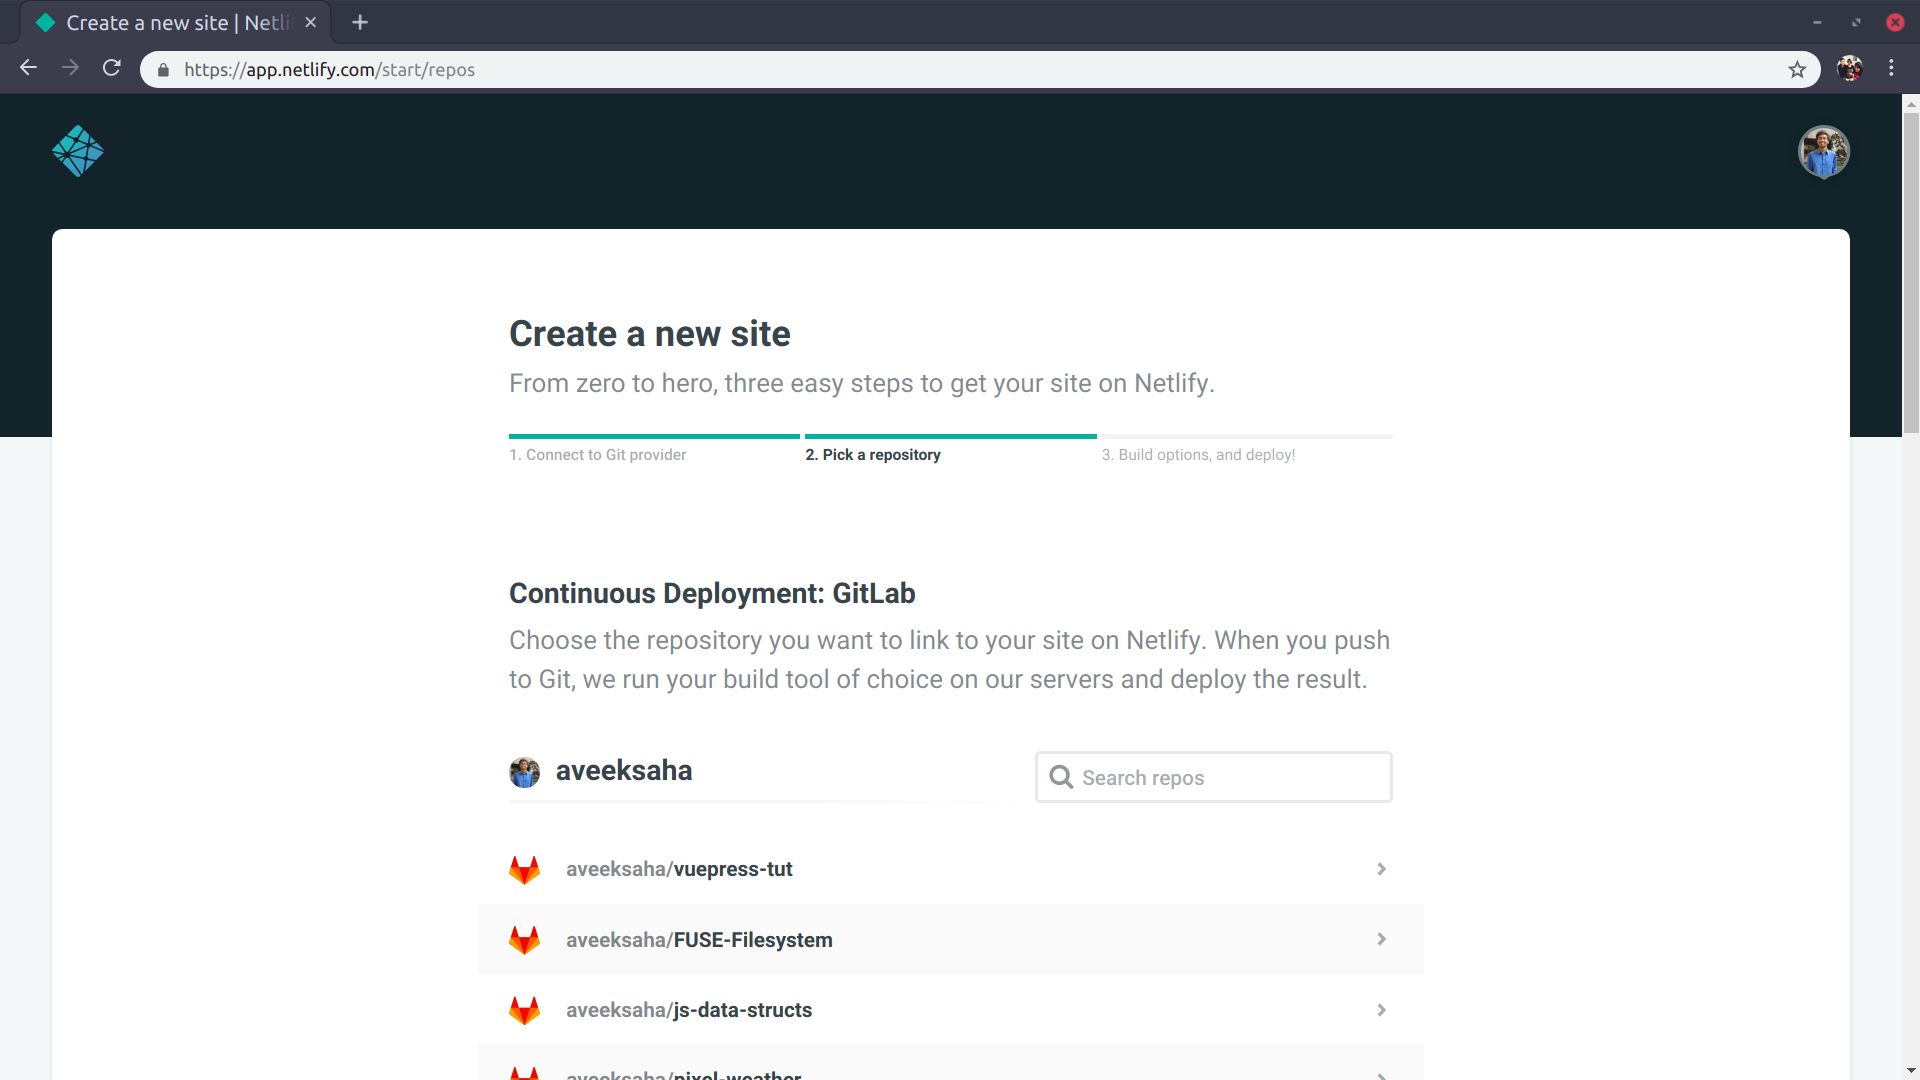
Open Netlify in your browser and sign up for an account if you don’t already have one. Go to your sites and click New site from Git then follow the steps-
- select your git provider.
- Choose the repository that you just created and committed to.
- Under build options go to basic build settings and fill in the following 2 fields:
- Build command
vuepress build docs- Publish directory
docs/.vuepress/dist/
Here are some screenshots of the process.

Then click deploy. The first deploy might take a while, so dont hold your breath. When the deploy is finished visit the site url given in the overview, it should look something like this Demo